Create your first e-label
A step-by-step walkthrough for building, filling in, and saving your first wine e-label.
This walkthrough takes you from an empty brand to a finished e-label, ready to publish. Before you start, make sure you’ve created a brand.
Start a new e-label
- From your dashboard, open the brand you want to add the wine to.
- Click Create E-label.
- The e-label form opens — fill out the sections below.
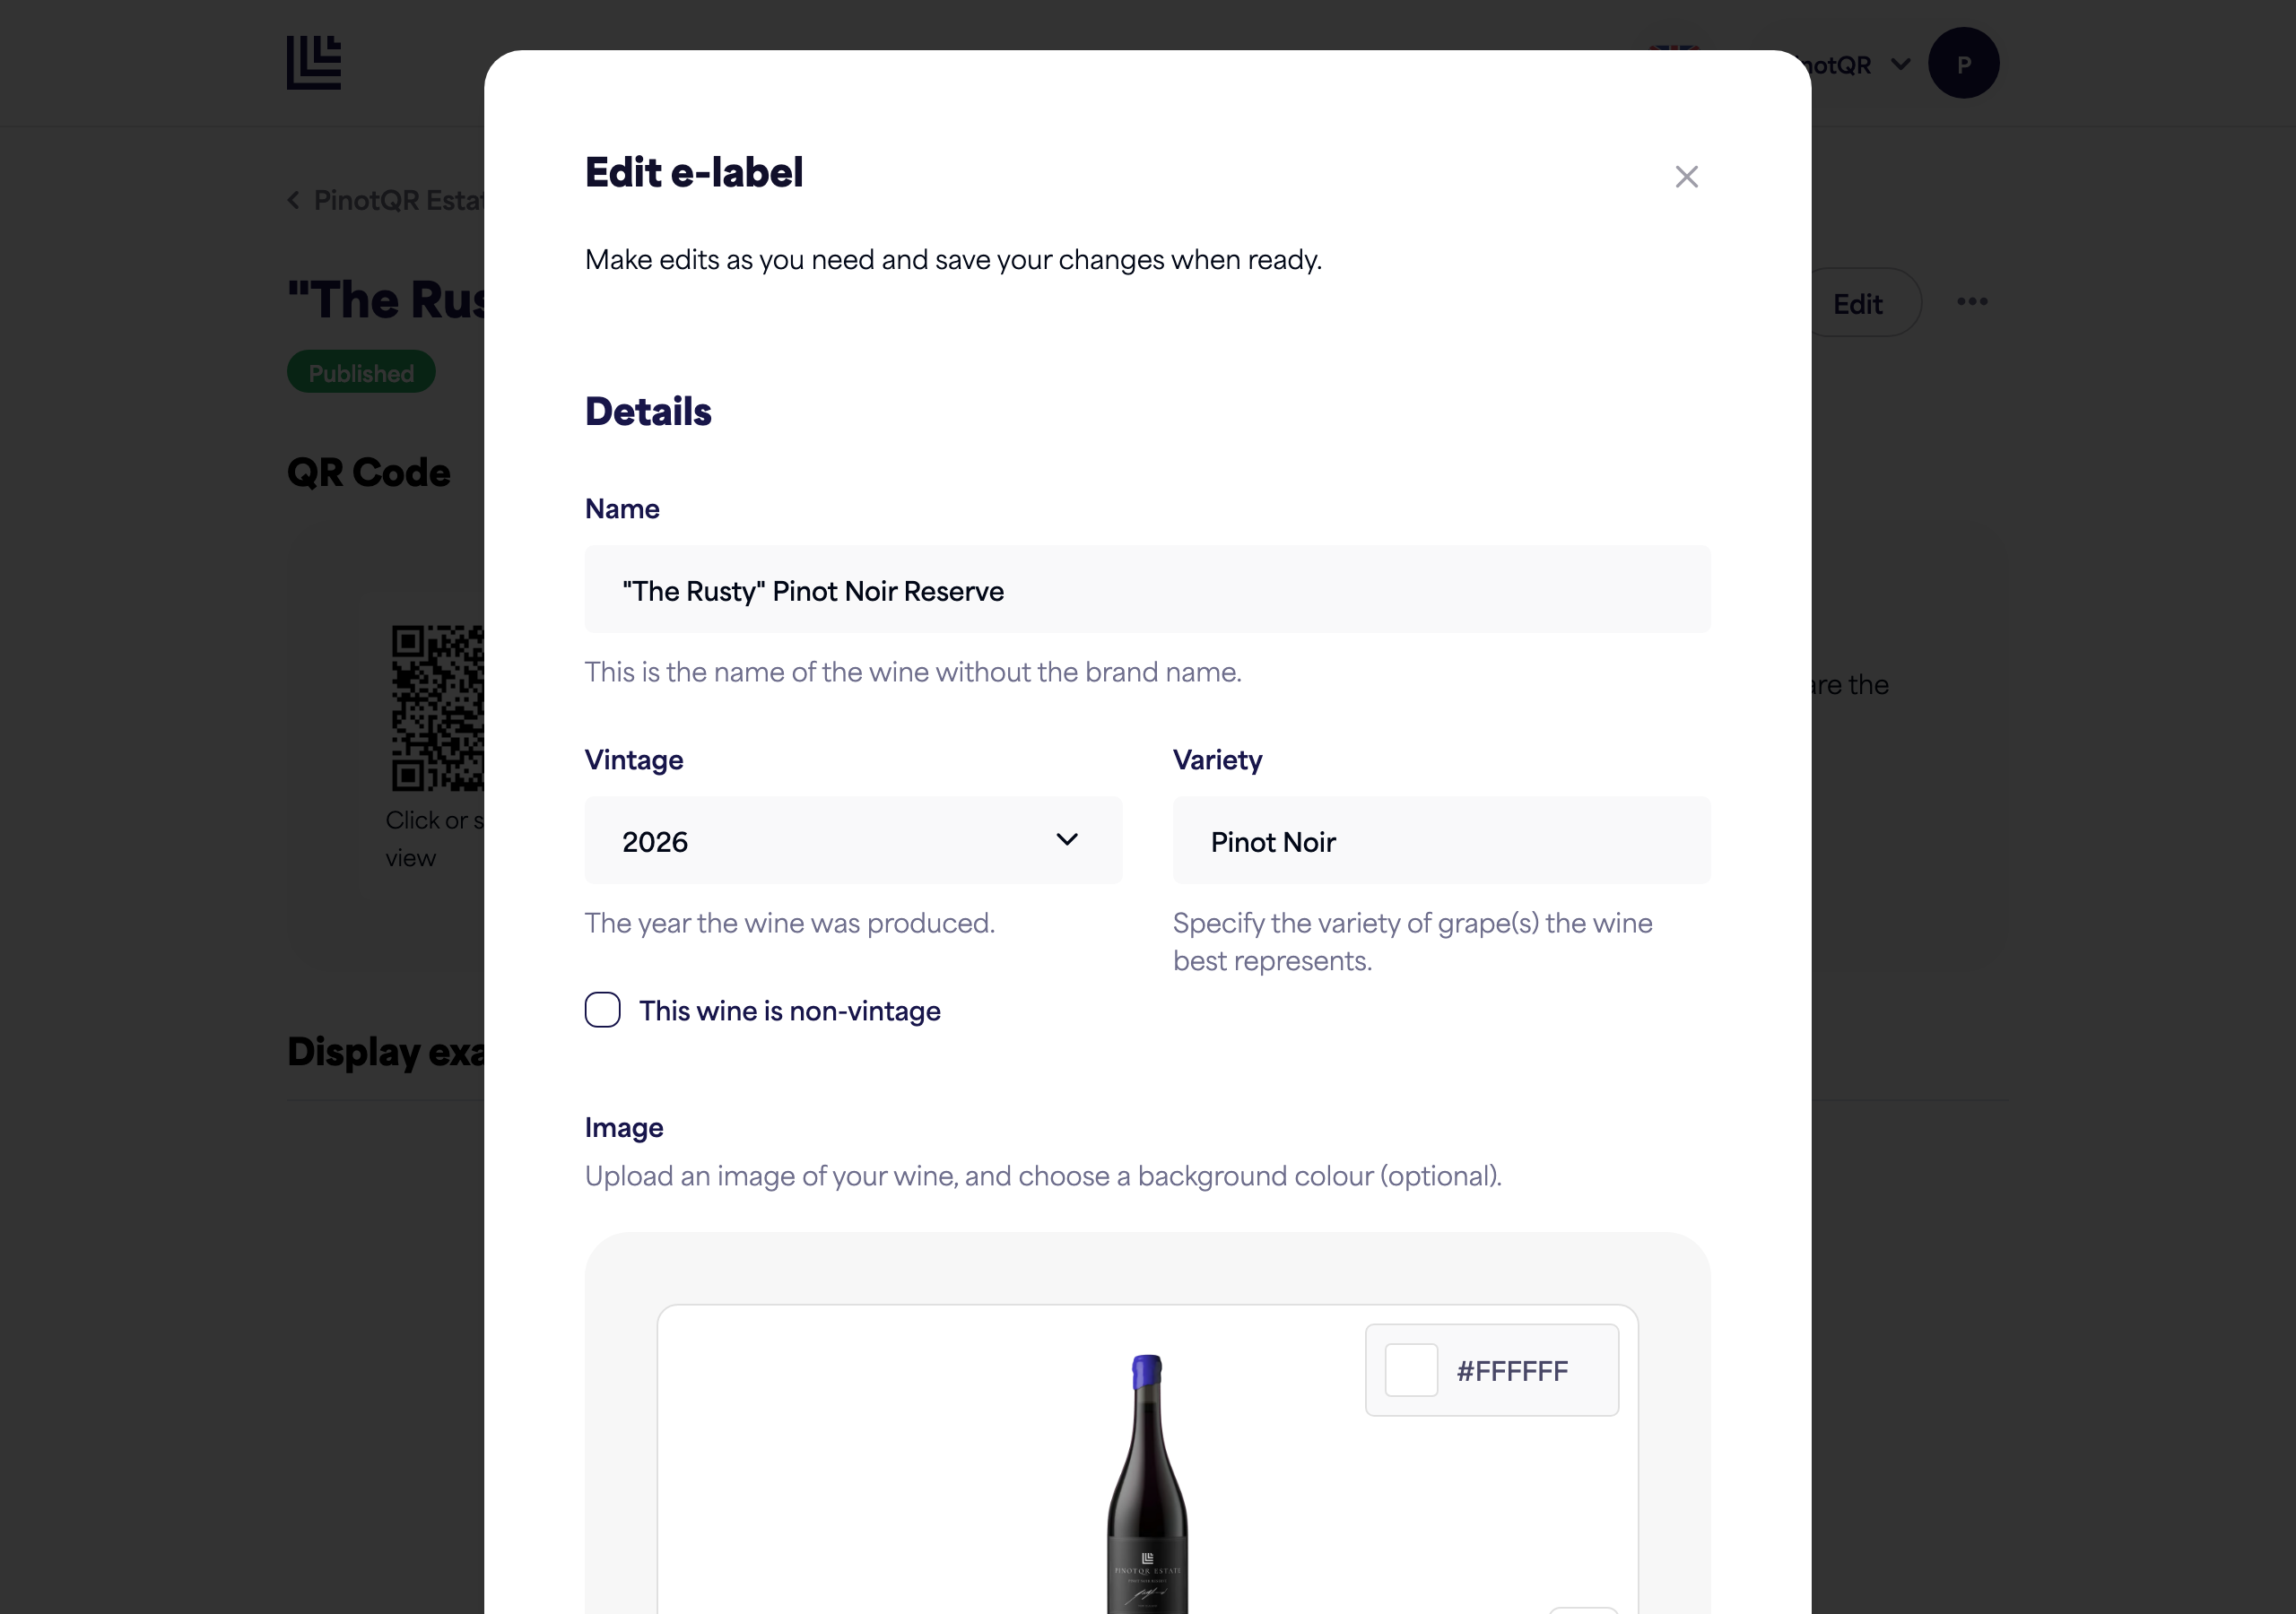
Fill in the wine details
- Name — the wine’s name as you’d like it shown (for example, 2016 Needle’s Eye Pinot Noir).
- Vintage — pick the year, or choose Non-vintage or Multi-vintage.
- Variety — the grape variety or blend.
- Bottle image — upload a photo of your bottle. We recommend an 800 × 800px image with the background removed; PNG or WebP work best.
Add the regulated information
The e-label form also has sections for the information EU rules require:
- Nutritional information — enter the values, or let PinotQR calculate energy for you.
- Ingredients — add ingredients under the relevant winemaking categories.
- Allergens — declare sulphites and any other allergens.
- Recycling information — describe how each part of the packaging should be disposed of.
Each of these has its own detailed guide in the Using the PinotQR app section.
Save your e-label
When you’re done, save the form. Your e-label and its QR code are created and published straight away — scanning the QR code shows your e-label immediately. You’ll see a confirmation that your e-label and QR code are ready.